Guide · Manual brewers
How to use a coffee percolator: stovetop and camping
Step-by-step instructions for a stovetop coffee percolator, with coffee amounts, perk times, camping tips and cleaning, based on manufacturers' published instructions.
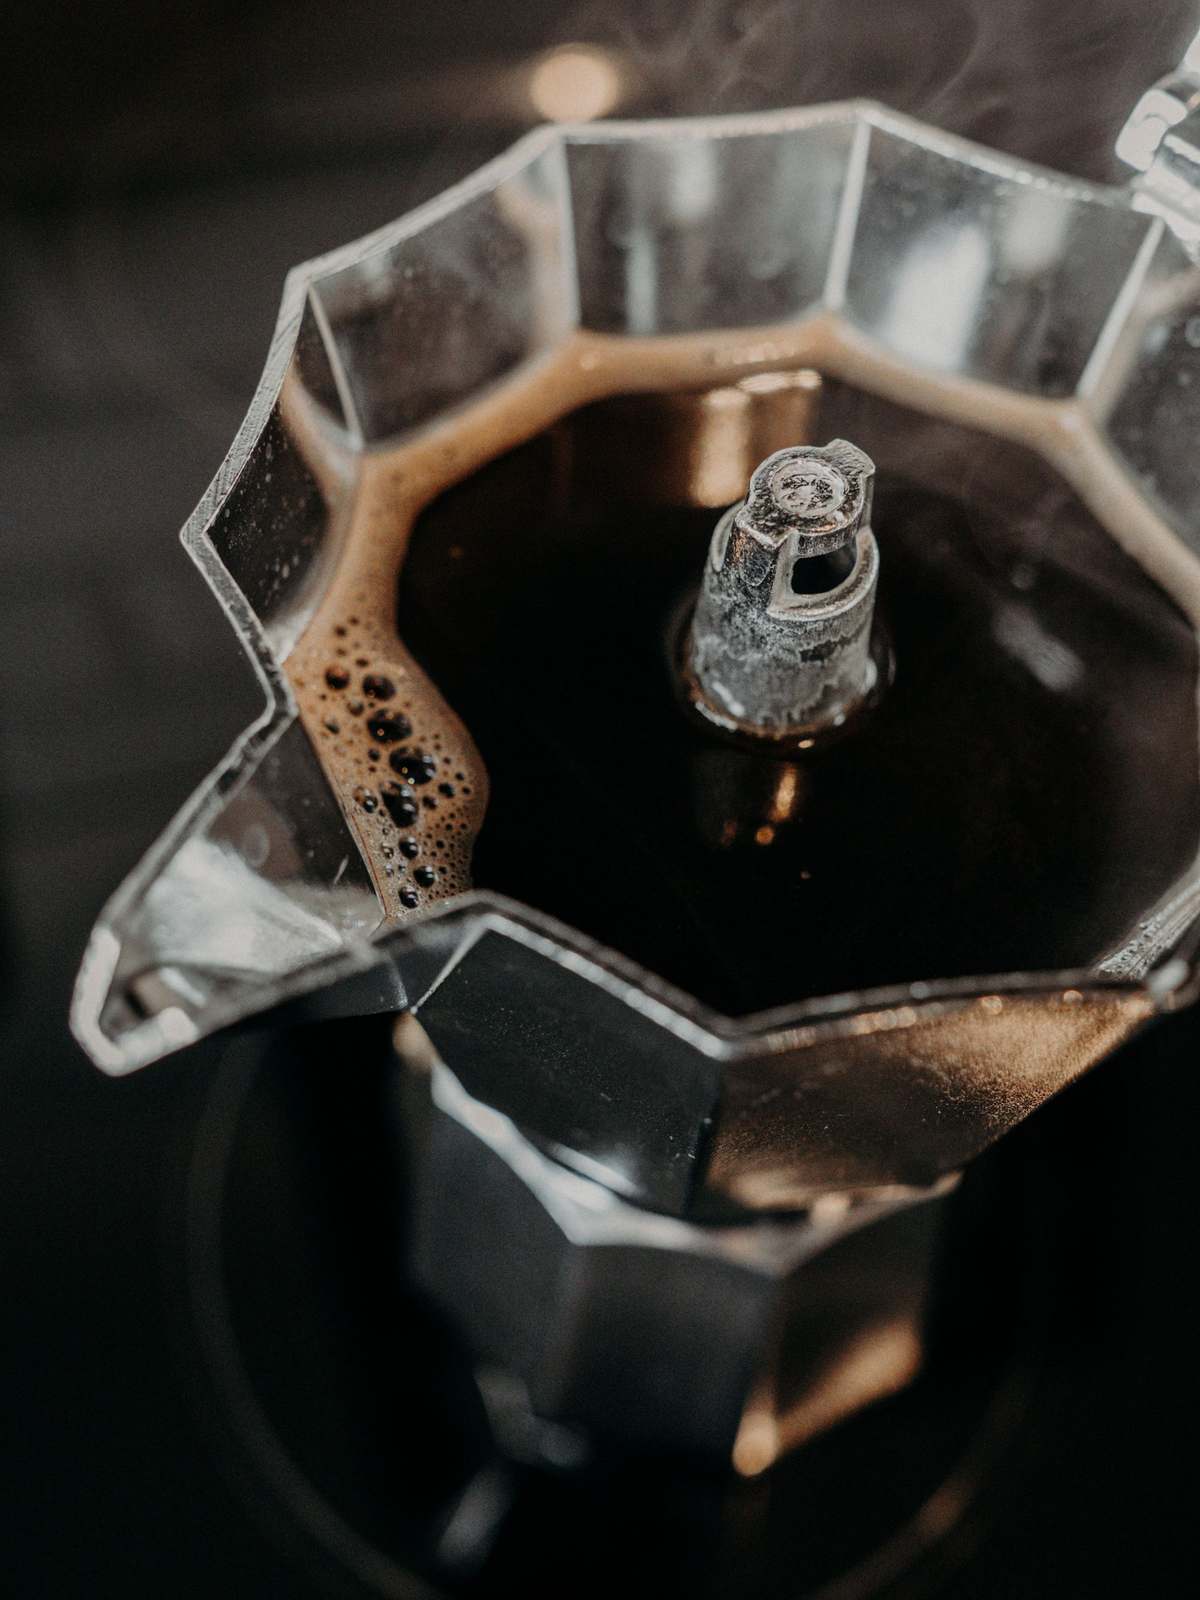
If you’re learning how to use a percolator, the short version is: water in the bottom, coarse coffee in the basket, gentle heat, and take it off before it boils hard. This guide takes you through each step, with coffee amounts and perk times from manufacturers’ published instructions, plus tips for camping and cleaning. Instructions vary between models, so always check the leaflet that came with yours. We haven’t tested this in person. Read how we compare.
How a percolator works
A stovetop percolator has four main parts: the pot, a central pump tube (or stem), a coffee basket that sits on the tube, and a spreader or basket lid on top. As the water heats, it’s pushed up the tube and spreads over the coffee. It then drips back through the grounds into the pot, and the cycle repeats. COLETTI, which makes camping percolators, describes the process this way in its brewing guide.
Many percolators have a clear knob or dome on the lid so you can watch the coffee bubbling up. Primula’s instructions tell you to watch the dome until the coffee reaches the colour you want.
Percolator vs moka pot
They look similar, but they work differently. A percolator cycles water through the coffee again and again. A moka pot pushes water up through the coffee once, into a top chamber, and you take it off the heat when that chamber is full. Bialetti’s Moka Express manual also says not to use percolator-ground coffee in a moka pot, so the two need different grinds. For the moka method, see how to use a Bialetti.
Who it isn’t for: anyone after espresso-style coffee. A percolator makes a longer, filter-style brew.
What you need
- A stovetop percolator
- Fresh cold water
- Coarsely ground coffee
- A tablespoon for measuring
- A hob, camping stove or other heat source
- Optional: a paper filter disc for the basket
Grind matters. Elite Gourmet’s manual for its stainless steel percolator says coarse grounds are best, because finer grounds sift through the holes in the basket and settle in the pot. If you use finer coffee, it says to use a filter disc. COLETTI suggests a grind similar to what you’d use for a French press. Our guide to grind size for a French press shows what that looks like.
How to use a percolator: step by step
These steps follow Elite Gourmet’s instructions for its 8-cup stovetop percolator, with notes from other makers where they differ.
- Take it apart. Remove the lid, spreader, basket and pump tube.
- Add cold water. Fill to the marking for the number of cups you want. Elite Gourmet says to keep the water below the spout and never overfill, because hot, foaming coffee can overflow. Primula says not to fill above the lowest row of holes on its model.
- Wet the basket. Elite Gourmet says this helps stop small coffee particles from sifting through. Then put the basket on the pump tube.
- Add the coffee. See the amounts below.
- Put it back together. Stand the tube in the pot so its base rests on the bottom, put the spreader on the basket and close the lid firmly.
- Heat it gently. Use a burner that’s no bigger than the base, so the heat doesn’t reach up the sides. Don’t take the lid off while it’s brewing, as Elite Gourmet warns that hot water pumps out of the top of the tube.
- Turn it down when it starts to perk. Once the water boils, Elite Gourmet says to lower the heat to low or medium, or it may boil over.
- Time it. See the perk times below.
- Take it off the heat. Then remove the tube, basket and spreader before serving, using an oven glove, as the parts will be hot. COLETTI suggests letting the pot rest for about 30 seconds so fine grounds settle.
Who it isn’t for: anyone who wants to walk away while it brews. A percolator needs watching so it doesn’t boil over or boil dry.
How much coffee to use
Elite Gourmet’s chart for its percolator gives these amounts:
| Cups of coffee | Mild | Medium | Strong |
|---|---|---|---|
| 4 | 2 tbsp | 3 tbsp | 4 tbsp |
| 6 | 3 tbsp | 4 tbsp | 6 tbsp |
| 8 | 4 tbsp | 6 tbsp | 8 tbsp |
Primula and COLETTI both suggest a starting point of one tablespoon per cup, with Primula defining a cup as 5oz (147ml). That’s the “strong” column above. COLETTI’s advice for stronger coffee is to add more coffee rather than brew for longer.
How long to perk
This is where makers differ most:
- Elite Gourmet: about 5 to 7 minutes once the water boils and you’ve turned the heat down.
- COLETTI: 4 to 7 minutes after perking starts. It suggests about 4 minutes for lighter coffee, 5 to 6 for balanced and 6 to 7 for strong, and warns that going past 7 to 8 minutes risks bitterness.
- Primula: no longer than 3 minutes for its aluminium model, on low heat, without letting it boil.
Start with the time in your own percolator’s instructions. If the coffee tastes bitter, shorten the perk time or lower the heat. If it’s weak, add more coffee next time.
Using a percolator for camping
COLETTI says the same stovetop percolator works on a campfire, camping stove or portable burner, and that steady heat matters more outdoors for an even brew. Keep the flame small enough that it only touches the base, just as you would at home.
Check your heat source before you buy. COLETTI says most of its stainless steel percolators aren’t designed for induction hobs, so look for one that says it’s induction-ready if you need that. Primula and Elite Gourmet both say their percolators aren’t for microwave use.
If you’d rather pack something lighter, see the best moka pots for camping or the best cafetières for camping.
Cleaning a percolator
Elite Gourmet’s cleaning advice for its stainless steel model:
- Empty it after each use and let it cool completely.
- Wash the parts in warm, soapy water, then rinse and dry.
- Don’t use steel wool or harsh abrasives on the outside.
- For hard-water deposits inside, fill it with equal parts water and white vinegar, bring to the boil, simmer for 10 minutes, then rinse well.
- Store it with the lid off.
Primula suggests cleaning its aluminium percolator from time to time with lemon juice and warm water. Materials differ, so check whether your model can go in the dishwasher before you try it.
Who it isn’t for: anyone who wants a dishwasher-only routine. Some percolators need washing by hand.
Where to go next
Prefer a simpler pour-and-plunge brew? Our guide on how to use a cafetière is a good place to start.
FAQ
How much coffee do you put in a percolator? Primula and COLETTI suggest one tablespoon per cup as a starting point. Elite Gourmet’s chart suggests 4 to 8 tablespoons for 8 cups, depending on strength.
How long should you let a percolator perk? It depends on the model: Elite Gourmet says about 5 to 7 minutes, COLETTI 4 to 7 minutes, and Primula no more than 3 minutes for its aluminium pot.
Why does percolator coffee sometimes taste bitter? COLETTI warns that perking for longer than 7 to 8 minutes risks bitterness. Try a shorter perk time and lower heat.
Can you use ground coffee from the supermarket in a percolator? Elite Gourmet says coarse grounds work best, and that finer coffee needs a filter disc in the basket.